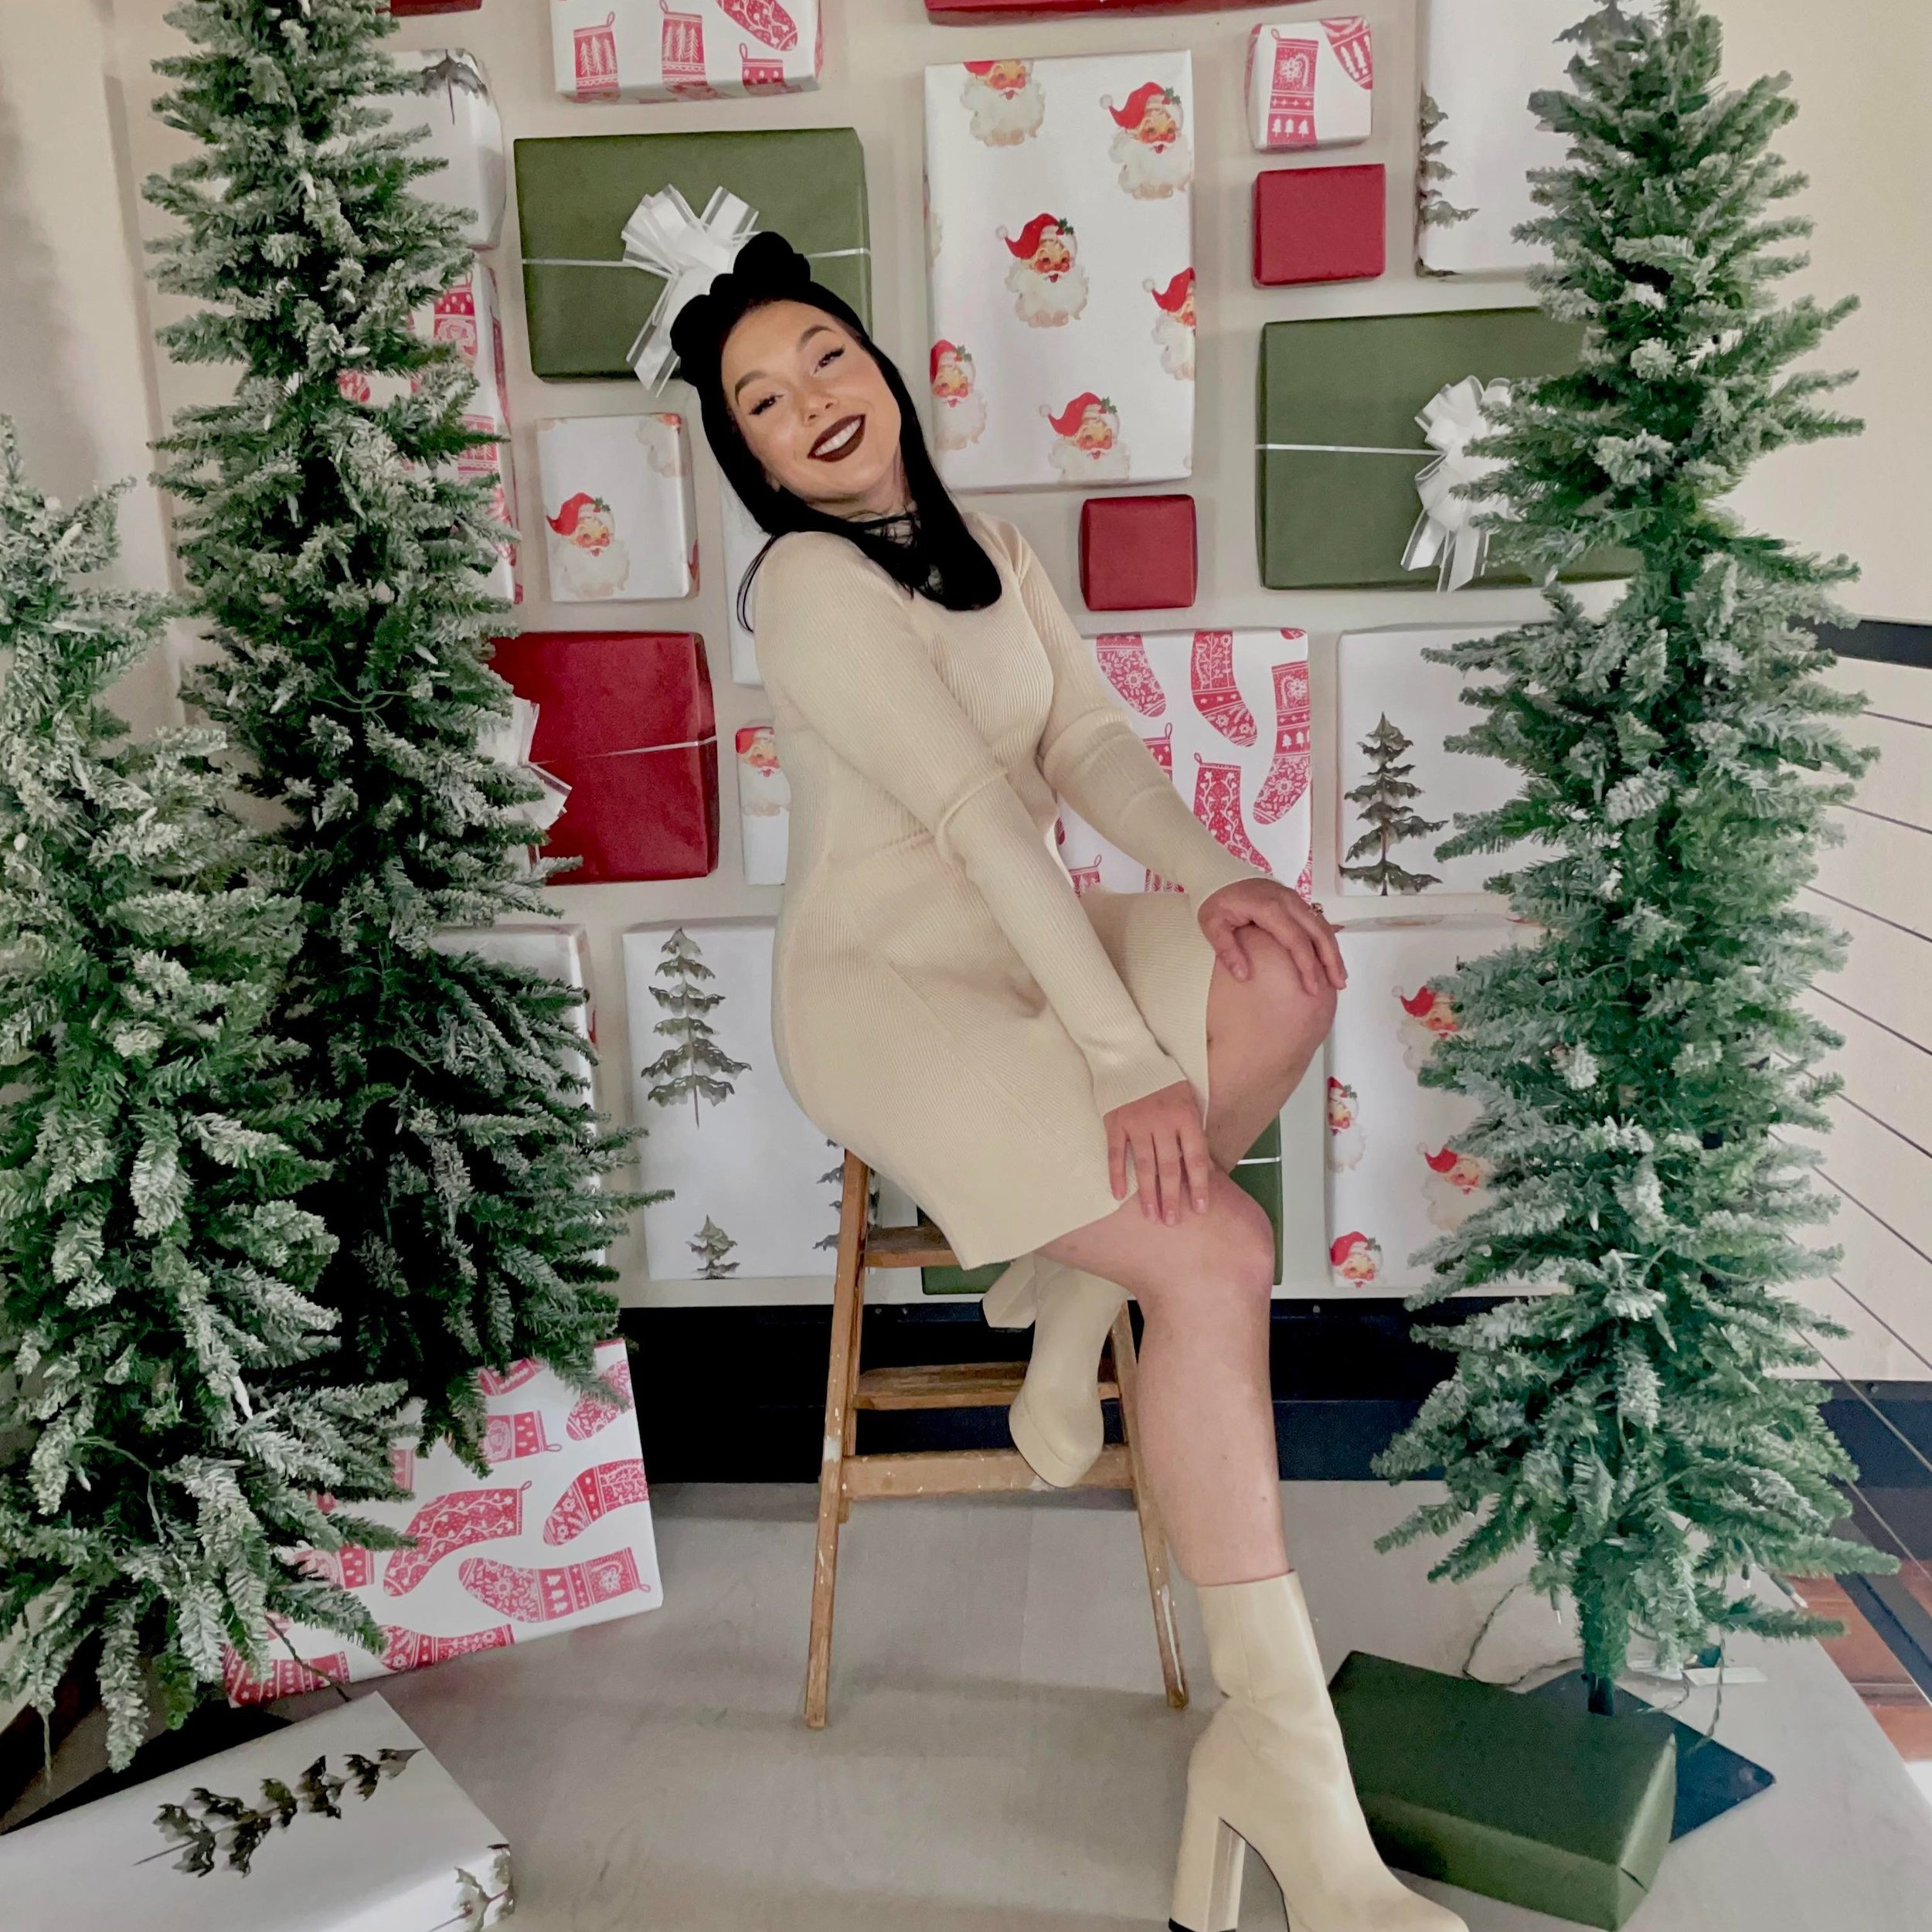
How to DIY a Present Wall!

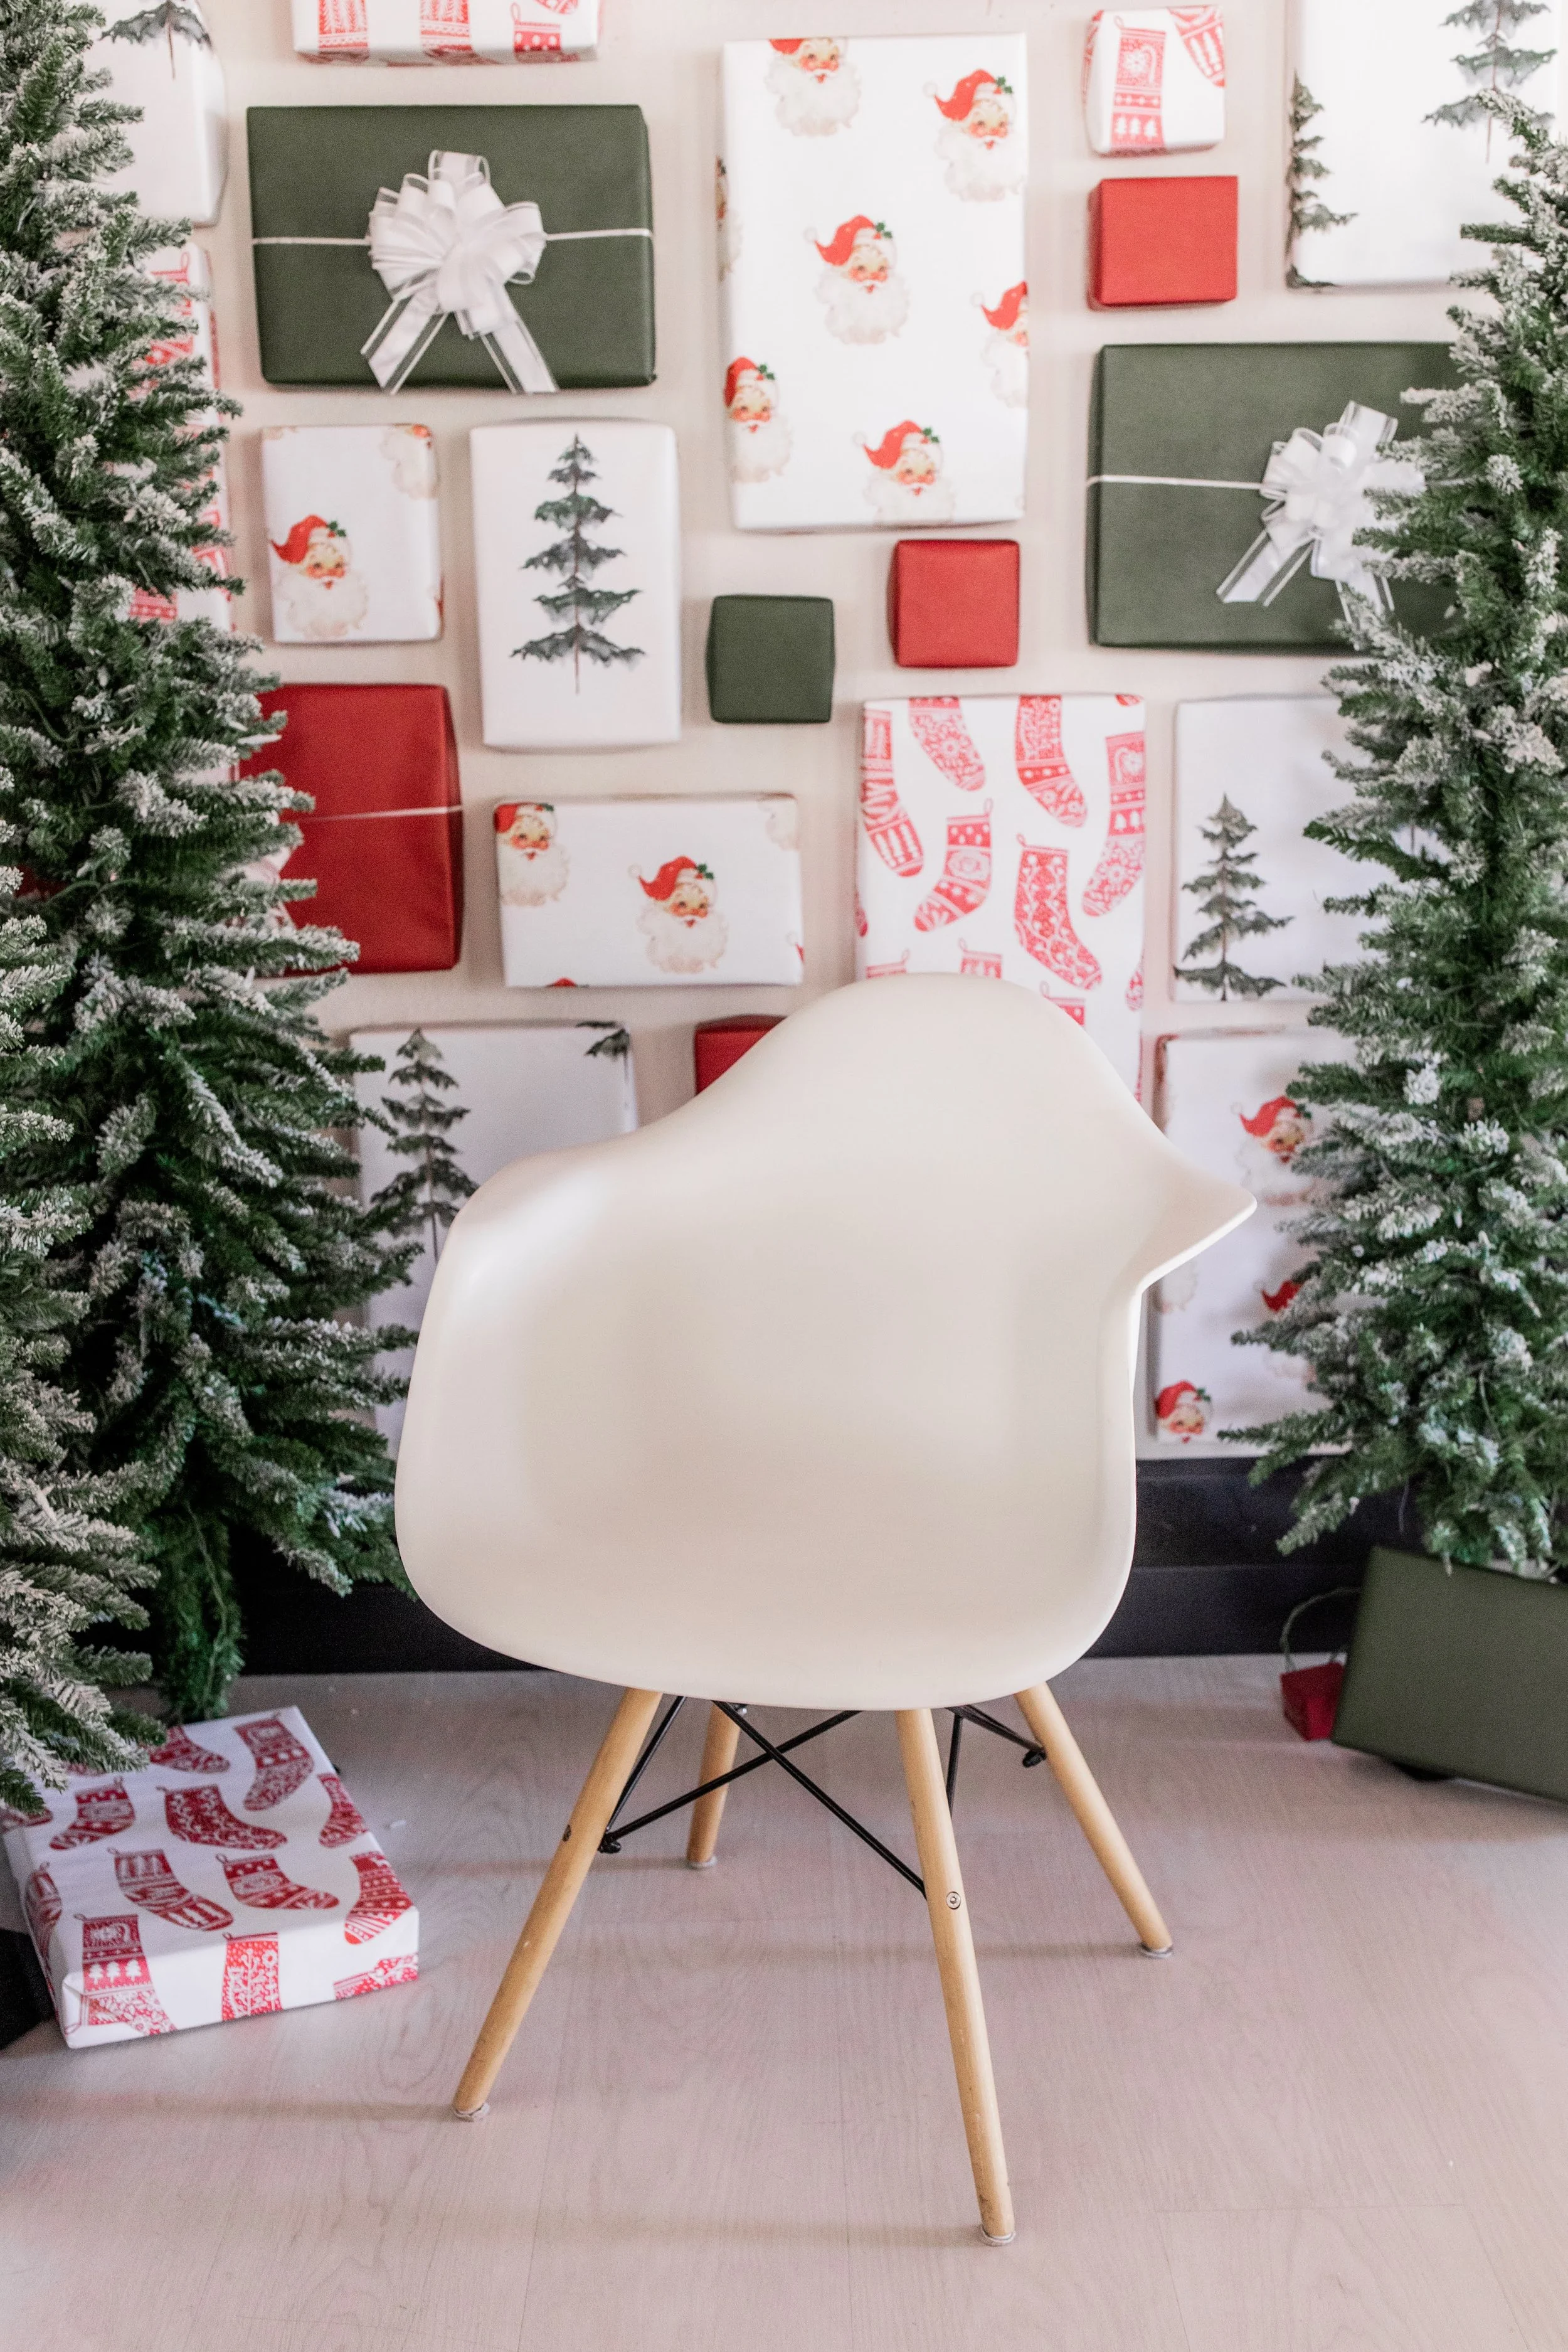
Every year we transform Lightbox into a winter wonderland for the holiday season! This past year we had so much fun dreaming up what Christmas sets we were going to put up in our little photo studio, and a favorite of our clients was the Christmas present wall!

Listen, we’re the first to say there is no one right way to do something, but we’re here to help you learn from our trial and error! Here is a quick tutorial on how to make your own present wall for a photo backdrop or just to add some holiday flair to your home or workplace!

Supplies you’ll need:

Wrapping paper! We recommend a variety of prints and solids and suggest buying all of your paper from the same company if you can so you know colors will coordinate!

Pro tip! Choose a matte paper instead of a shiny paper if you are using this wall primarily for photo sessions! Shiny paper will typically have glares when you photograph it!

Scissors & tape! You know the drill!

Push pins or command velcro!

Boxes in variety of shapes and sizes! While you can collect boxes throughout the year, we found it much easier to use boxes with a bottom and a lid (like classic, light weight gift boxes!) to accomplish this project!

Bows! We opted to just use bows on the solid boxes we wrapped, but there are so many different ways you can incorporate bows and ribbons for this project!

Now onto the construction process!

Step 1: Planning

We always say the best way to start a project is to plan, plan, plan! I grew up with my mom saying “Measure twice, cut once” on all of our building projects and I think that translates to almost anything you are looking to create!

By starting with a clear plan of action, you ensure you avoid wasting valuable materials!

So first things first! Consider where you are going to put your present wall! Measure the length and width of the wall you are wanting to construct it on and make sure you order enough boxes and paper to complete your project! This can take a little math, but we always say it’s better to over estimate on materials, and only open what you need to when it arrives! You can always try and return unopened boxes and rolls of paper if you order too much or use them to wrap your Christmas gifts!

For our present wall, we left gaps between each box so you can see the wall behind, but you can always position the boxes with no gaps so you have a solid gift wall background!

Now, here comes phase 2 of planning! Before you wrap one single box, I suggest measuring out a spot on your floor that is identical to the wall you are going to use for the present wall! Start with a straight line, laying out the unwrapped boxes working from the bottom or top and build on from there! This is kind of like a putting together a big puzzle! There ended up being a dew gaps that I did use random small boxes from our studio to fill in in places, but the majority of boxes we used were all the lidded boxes I mentioned above!

Once you’ve filled your floor with boxes and are happy with the layout, grab some post it notes or paper and start labeling each box with what paper you want to wrap it with! This will ensure your final design doesn’t have multiples of the same color or pattern right next to each other!

I recommend taking LOTS of photos of the process! It helps so much when you go to finally construct your wall!

Labeling each box with what wrapping paper I will wrap it with!

Figuring out what order I want to put my boxes in! As you can see, I filled in with some random sized boxes throughout my design!

Step 2: Wrapping

Remember how I said we used gift boxes with a lid for this project? You’re about to learn why! We only wrapped the lid! Yup, you heard me! While this is a bit more difficult and time consuming than just wrapping an entire box, it made the second half of the project so much easier!

Why, you ask? Just wrapping the lid of to boxes allowed me to only secure the bottom of the box to the wall with staples/push pins and just slid the lid on! Given, this only works with lids that go all the way over the package like we put in our supply list! You can definitely just wrap the entire box and use command strips to secure the packages to your wall, but we liked that this gave us the option to reuse these boxes instead of wasting all of the wrapping paper! We plan on storing and using the boxes for Christmas gifts next Christmas!

Only wrapping the lid of the box! This was a little time consuming, but made installation faster for us! 

Almost done wrapping! It’s coming together! 

Final Step: Assembling!

All your box lids are wrapped and ready to go! Time to put your present wall up! I started with all of my presents laid out on the floor in the exact order I was going to put them up! Starting from the bottom of the wall, I opened each box and used push pins to secure the back of the box to the wall. After securing the box, I simply slid the wrapped lid right on! This works best with classic, lightweight gift boxes!

I continued on with my pattern until the entire wall was filled! We did have some smaller gaps that were oddly shaped, so I filled in with random boxes we had laying around and secured those with command strips!

The final touch was adding bows (I just wrapped these around the lid and secured them with tape inside!) and adding a few Christmas trees! Now you have a festive present wall! The perfect holiday party photo-op!

Here I have the bottom of the box fixed to the wall with push pins, now I only have to slide the top of the box on!

Using push pins made the most sense for us but you can always use command strips to avoid holes in your wall!

Putting the lid on the box fixed to the wall! 

Finished! Looking good! 


The finished product!

Recreating a present wall using our tutorial? We would love to see! Tag us on instagram at @lightboxsgf!

The Coziest Places in 417Land

Looking to escape the frigid winter air? We’ve compiled a list of our favorite cozy spots in the 417 to keep you busy (and warm) during this chilly season!

A smiling narwhal greets both new and familiar faces in one of Pagination’s many reading nooks!

El Cafecito

Cold weather keeping you in bed? Fortunately, El Cafecito is the perfect spot to grab a coffee to-go, or slowly wake up as you sip on your drink of choice. “The little coffee shop” has both a drive-thru, as well as an inviting atmosphere for those who have time to linger. Complete with ambient lighting, great coffee, and delicious food, this intimate setting has everything you need to rid you of your winter wearies! 

Pro tip: El Cafecito specializes in authentic Latin cuisine; stop in and warm up your tastebuds with an item or two from their menu!

photo courtesy of el Cafecito

Prairie Pie

Hidden along Jefferson Street in Downtown Springfield, Prairie Pie boasts some of the best comfort-food in 417land! Upon entering, you’re met with mouth-watering aromas that tickle your senses and lure you further into the enchanting atmosphere. Mood lighting complements colorful decor, while both sweet and savory flavors permeate throughout the space. Whether you’re alone or with a group, Prairie Pie is the perfect place to escape the cold! 
Gailey’s Breakfast Cafe

Stocked with eclectic decor, local art, and a substantial menu, Gailey’s offers a unique and nostalgic dining experience! As a Springfield staple, Gailey’s is a crowd favorite that provides a multitude of activities to stay busy during the cold winter months. With a rotation of weeknight happenings, Gailey’s is a great place to step out of the cold, and into a warm, welcoming community! 

photo courtesy of Gailey’s

The Royal Music Hall

Located at the corner of Cherry and Pickwick, The Royal features listening room concerts, craft cocktails, tasty appetizers, and an intimate space to create memorable experiences. Even in the center of Pickwick’s hubbub, patrons are able to unwind among the comfortable, eclectic decor while recounting the day’s festivities.

Pro-Tip: Prepare for the day ahead, and visit the Sleepy Oppossum Cafe for breakfast! Located inside The Royal, Sleepy Oppossum Cafe is open every morning, except on Mondays.

Pagination Bookshop

Tucked off of Historic Walnut Street, Pagination Bookshop exudes enough charm and tranquility to thaw the most stubborn of chills. Whether you’re perusing the stocked shelves for a new world to explore, retreating to the Hobbit Hole for a niche hideaway, or taking the kids on a fun outing, you’re sure to feel right at home! Pagination Bookshop effortlessly delights all who wander through its doors.

Lightbox

Nestled along historic Commercial Street, Lightbox houses a number of carefully curated sets. Even so, guests are encouraged to make themselves at home! Whether you choose to bask in the ambiance of the pre-planned sets, or make it your very own, Lightbox has options! Escape the cold this winter while capturing meaningful memories, and making the most of what the 417 community has to offer!

Pro-Tip: Each rental at Lightbox has the option to add Seamless Backdrops to the reservation, allowing guests to utilize the sets, as well as a smooth background!

Written by Hannah L.

2023 Holiday Photo Wardrobe Inspiration

When deciding on attire for your holiday photoshoot, neutrals are always a safe choice. However, it can be fun to switch things up! If you are wanting to shake up your holiday photos with some festive flare, but aren’t sure where to start, no worries! We’ve got you covered. Keep reading for some fun wardrobe tips and tricks!

With the help of our friends at Clothe Boutique, we have the perfect pieces to coordinate with our holiday sets!

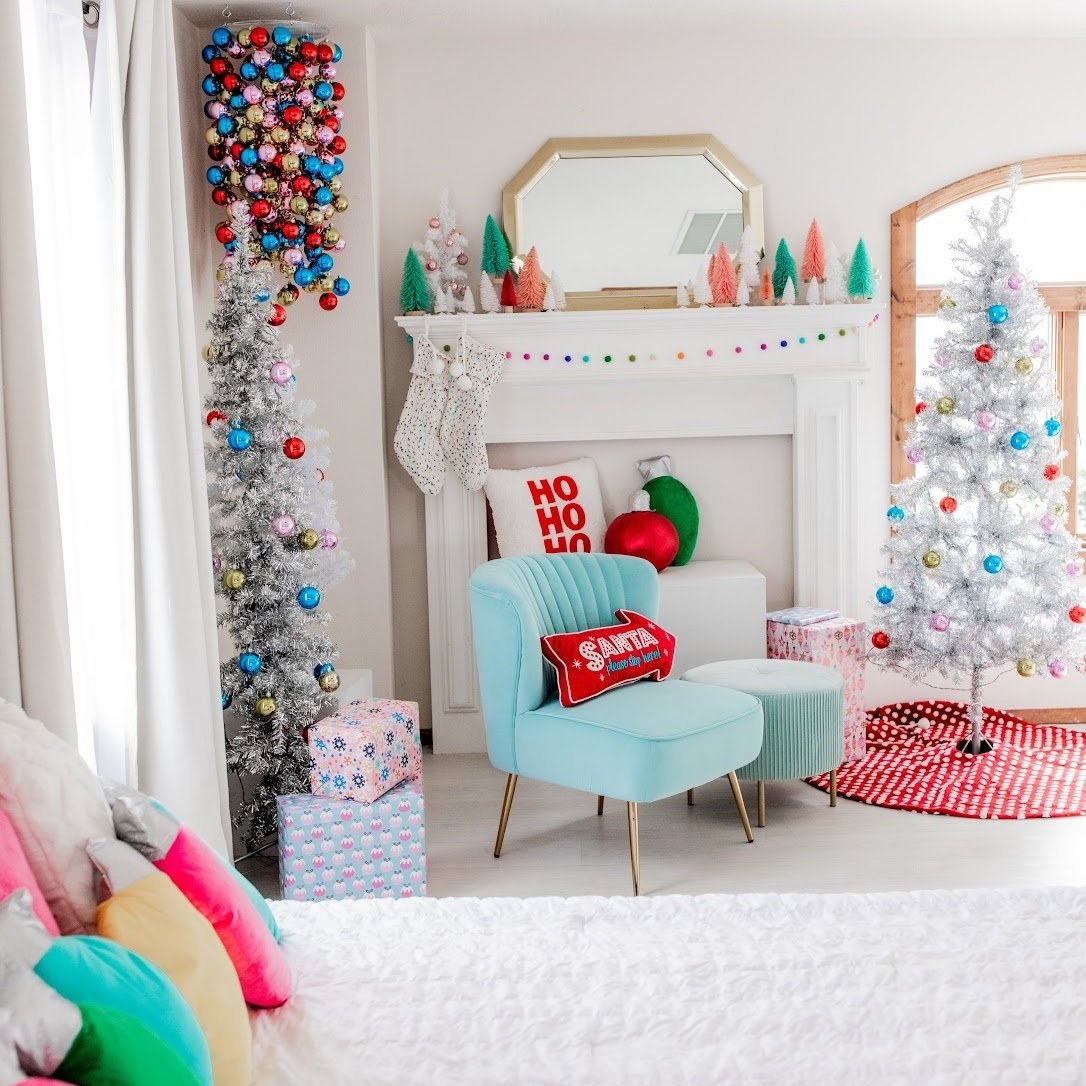
The Loft: Merry & Bright

This year, our Merry & Bright set in the Loft features a vibrant, colorful design! Why not lean into it? For this set, we recommend wearing something merry, bright, or both!

Merry

While it’s wise to stay away from graphics and logos, holiday flare never goes out of style! Pair your favorite jeans with a cute holiday tee or sweater, and you’ll feel right at home in the Loft.

Featuring: “Sparkle All the Way” Sweater from Clothe Boutique

Bright

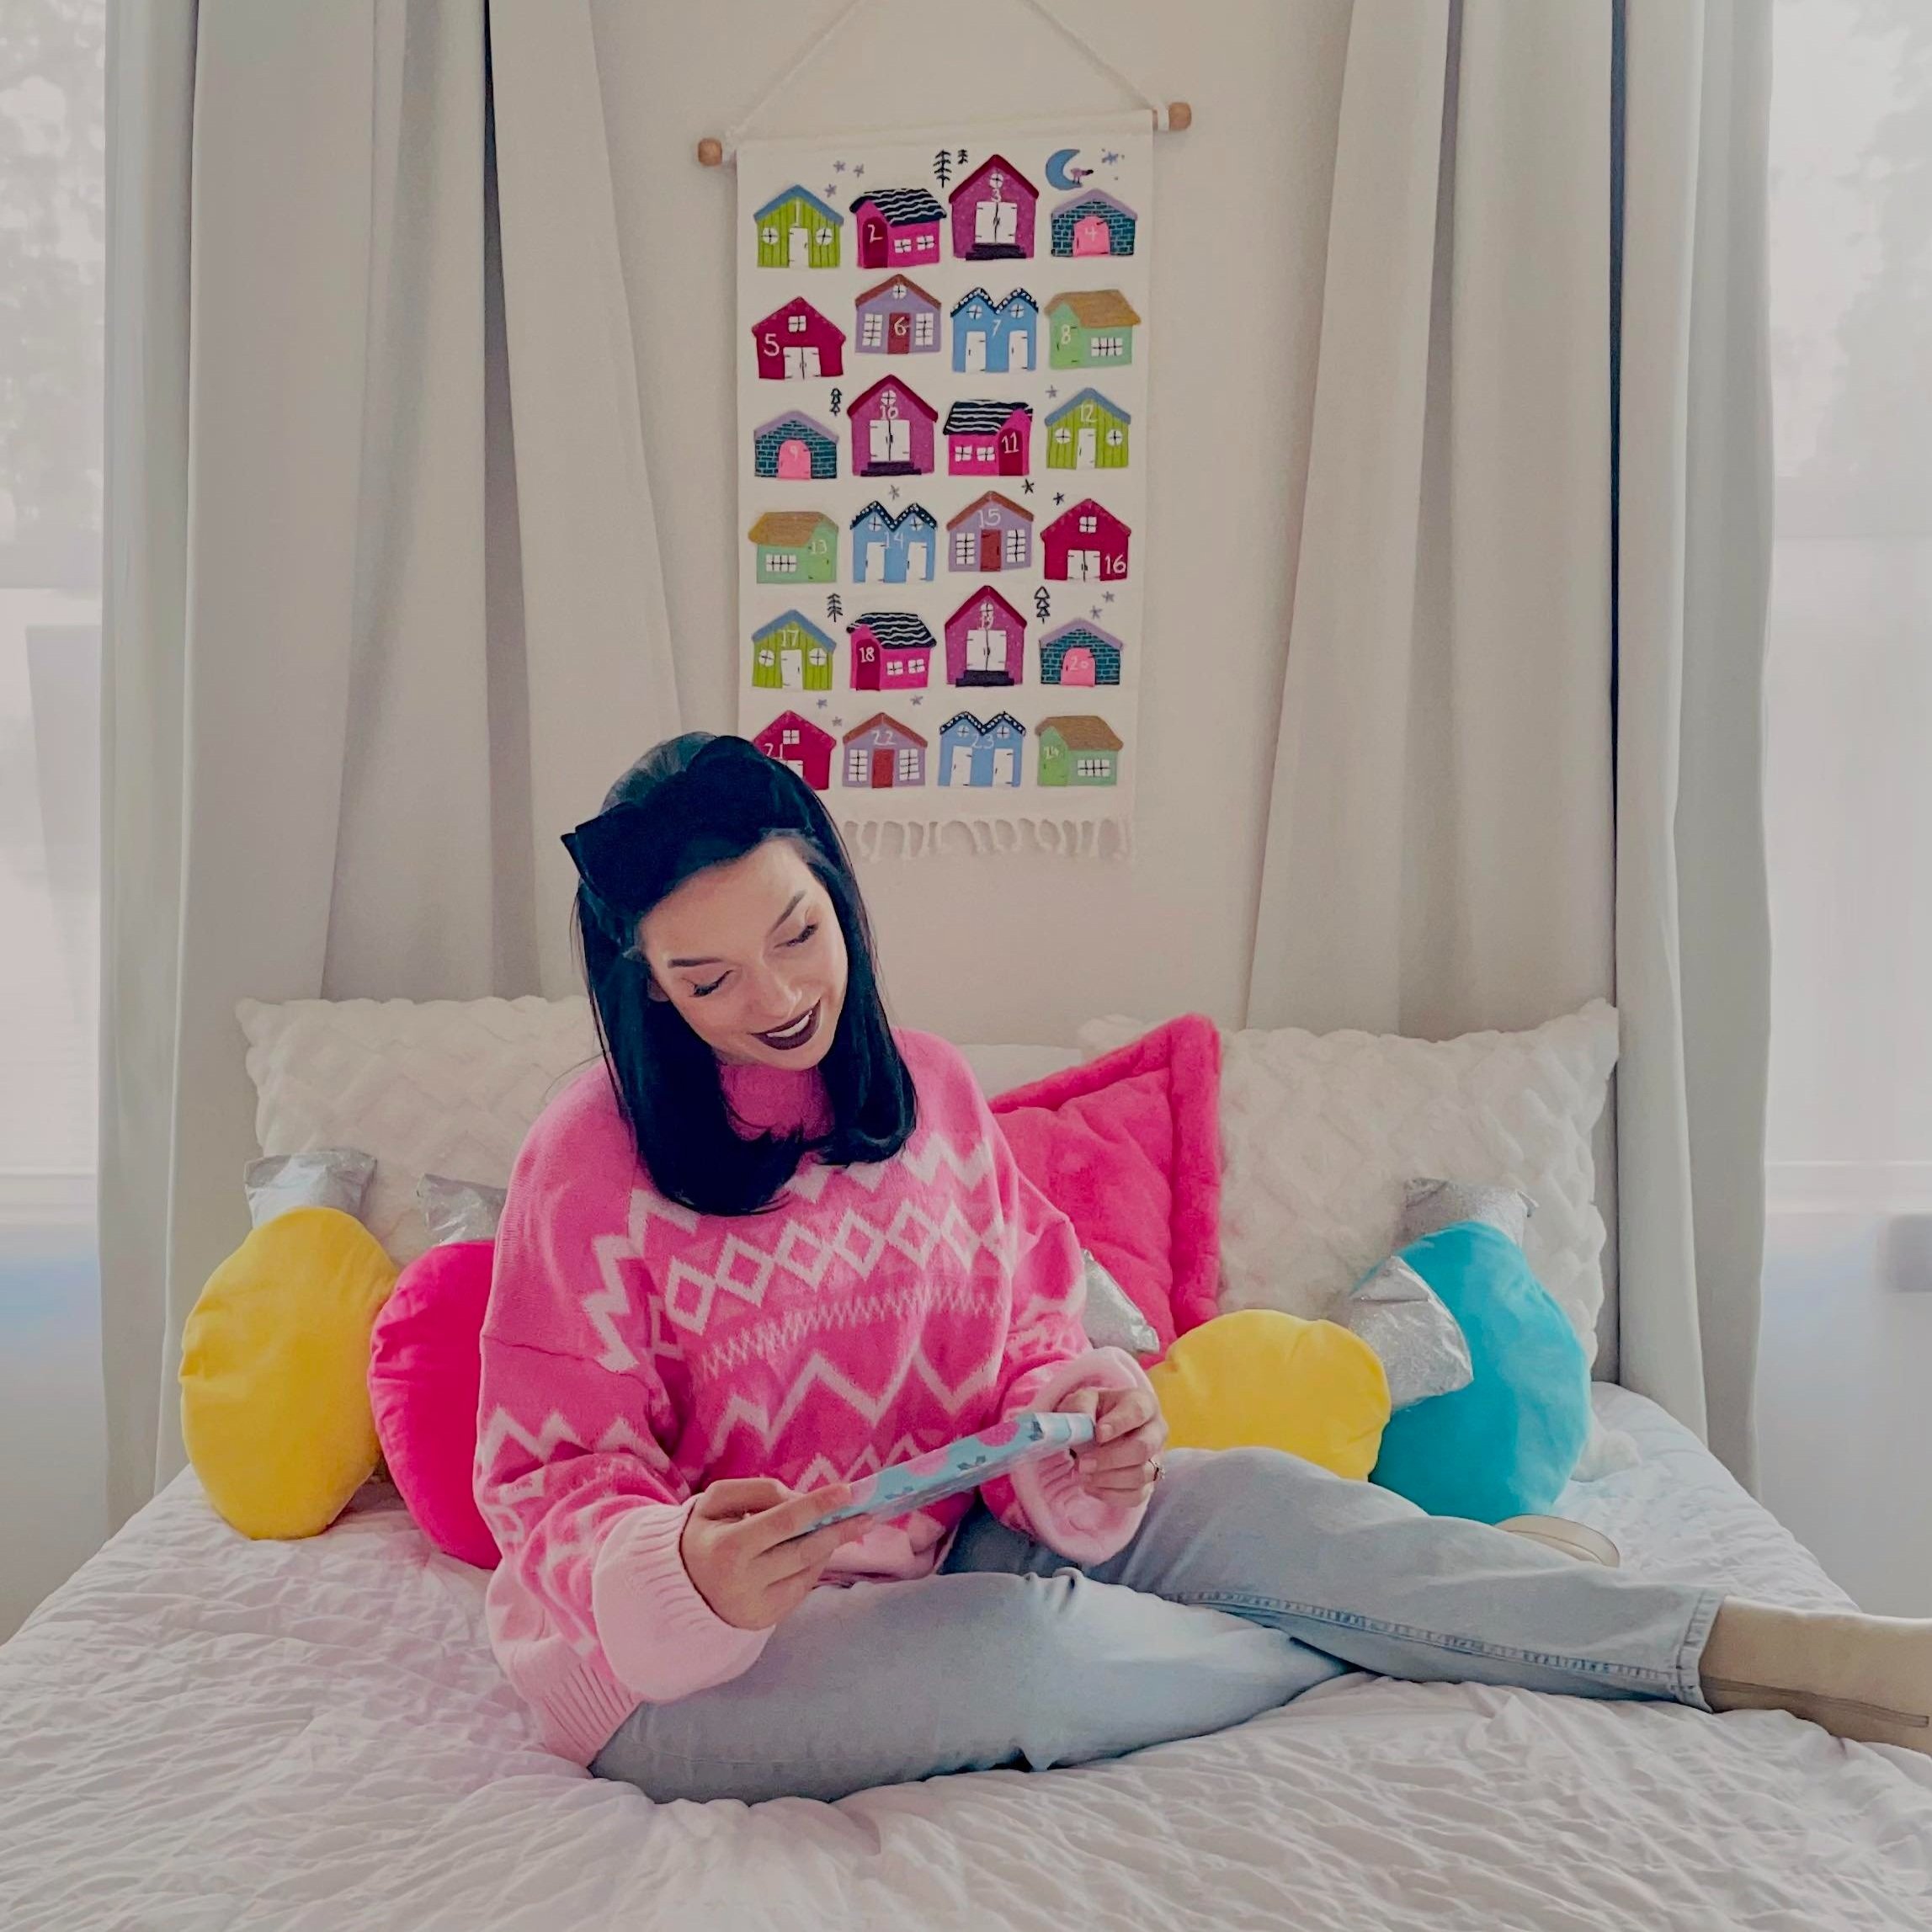
No need to fear bold colors this year! If you want to wear something vibrant, opt for a piece that complements the colors featured in our Merry & Bright set. (Think pinks, reds, yellows, and blues!)

Featuring: Aspen Zig Zag Sweater from Clothe Boutique

Both

Can’t decide between a festive sweater or a bold color? Choose both! We love this bauble sweater from Clothe; it’s the perfect finishing touch in our Merry & Bright set!

Featuring: Dipp n Dot Sweater from Clothe Boutique

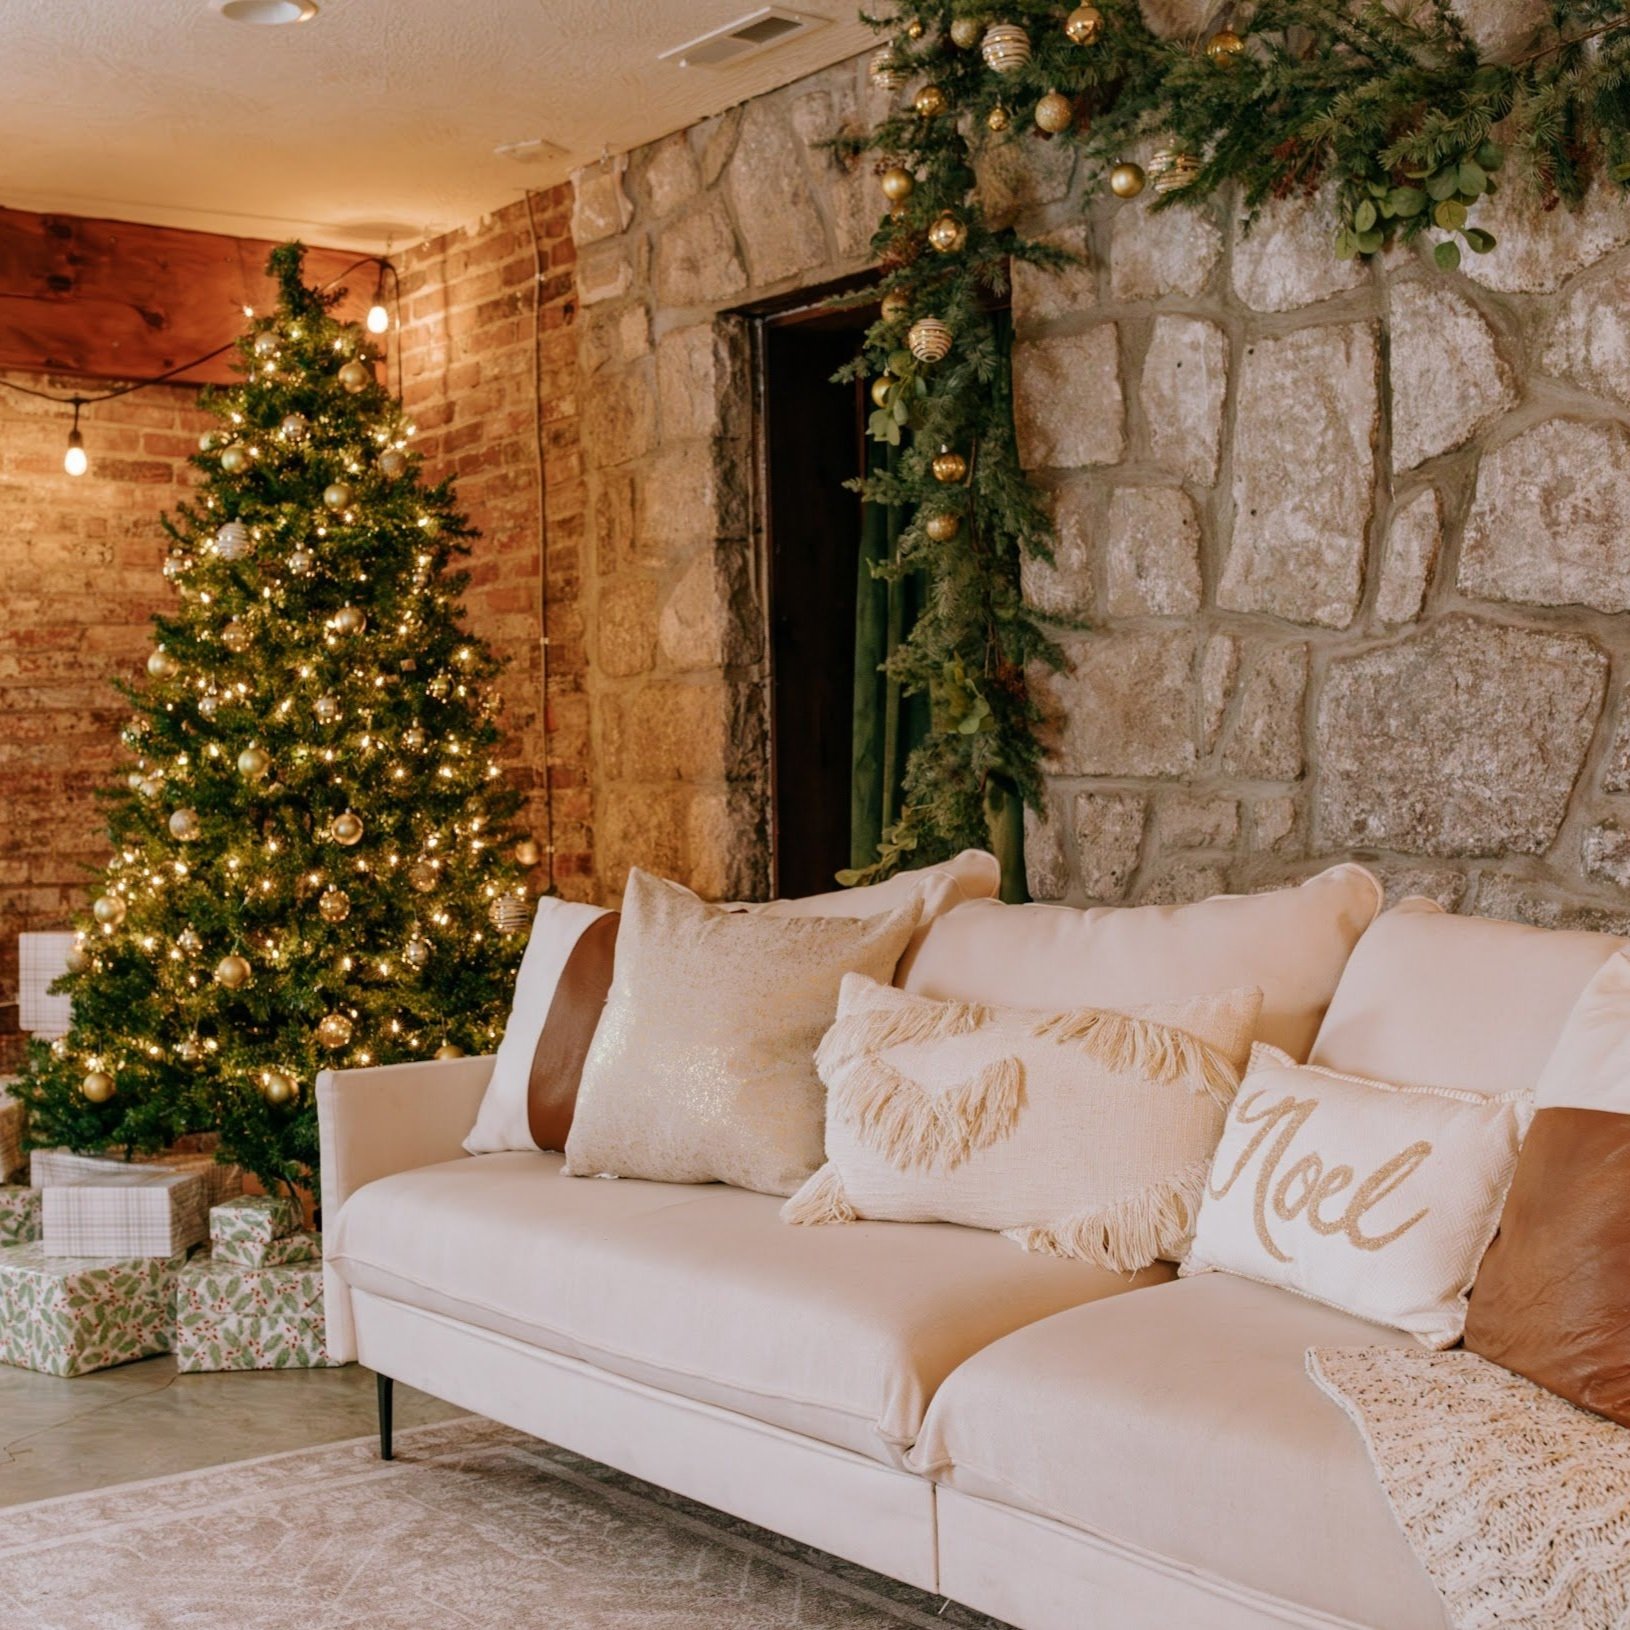
The Edison: Cozy Christmas

In the Edison, you can find warm, traditional touches for a cozy and enchanting winter backdrop! This set boasts earthy, muted tones, so we recommend playing with a variety of textures and patterns for your holiday photos.

Glitz

A little (or a lot) of sparkle never hurt anybody. If you’re feeling glamorous, adorn yourself in a pop of sparkle to really make you shine!

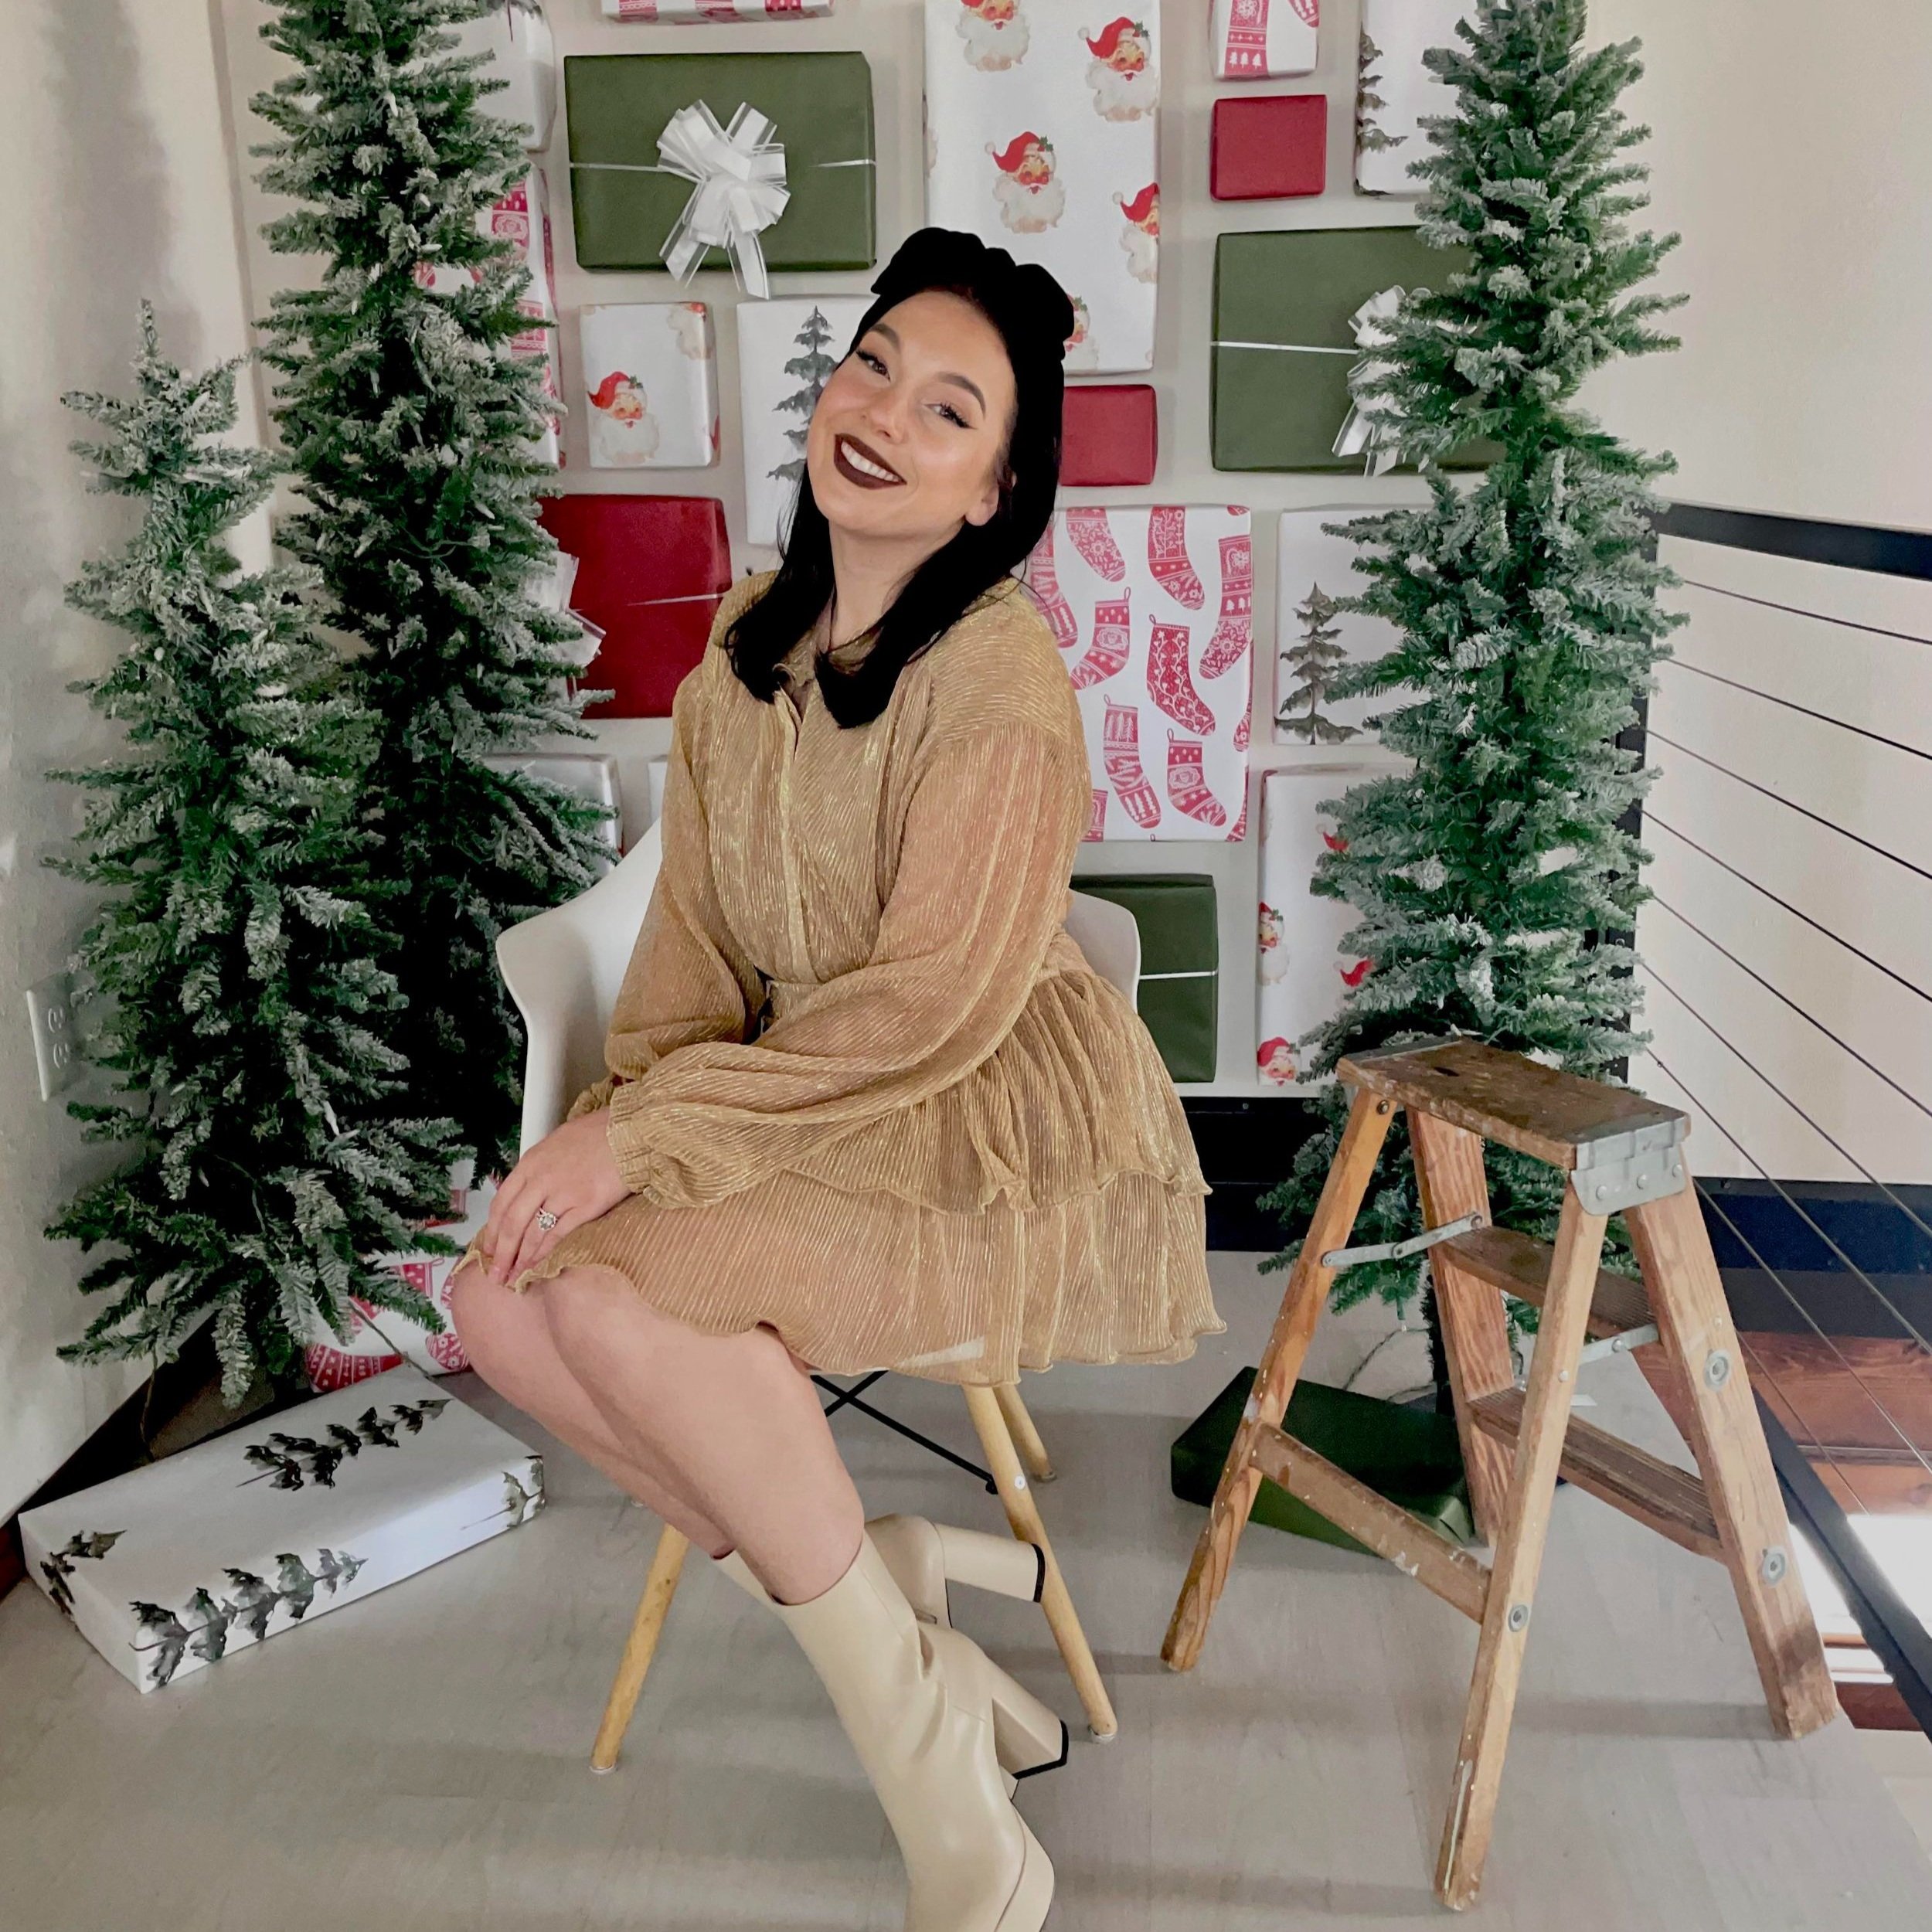
Featuring: Indy Gold Shimmer Dress from Clothe Boutique

Knits

Love a neutral? Play it up with a subtle knit to add some texture and help you stand out!

Featuring: Sandy Sweater Dress (Cream) from Clothe Boutique

Plaid

Patterns can be tricky to coordinate effectively in your photos. Fortunately, our Cozy Christmas set is the perfect environment to showcase your favorite holiday plaid!

Featuring: Merry Plaid Ruffle Dress from Clothe Boutique

Bonus Set: Wrapped in Winter

Because our bonus set in the Loft is super versatile this year, you can wear whatever fills you with holiday cheer! And as always? Have fun with it!

Written by Hannah L.

Source: https://www.clotheboutique.com/